Get Started
Prerequisites
Make sure the following dependencies have been installed:
-
Python 3.12 or higher versions
-
Node.js 18 or higher versions
Set up Backend Service
-
Clone the efflux-backend repo.
git clone git@github.com:isoftstone-data-intelligence-ai/efflux-backend.git -
Install
uv.cd efflux-backend pip install uv -
Reload dependencies.
uv sync --reinstall -
Activate your virtual environment.
# Activate virtual environment source .venv/bin/activate # MacOS/Linux # Deactivate when needed deactivate -
Configure environment variables.
# Copy environment variable template cp .env.sample .env # Edit .env file, configure: # 1. Database connection info (DATABASE_NAME, DATABASE_USERNAME, DATABASE_PASSWORD) # 2. At least one LLM configuration (e.g., Azure OpenAI, Qwen, Doubao, or Moonshot) -
Select your LLM.
# Edit core/common/container.py file # Find the llm registration section, replace with any of the following models (Qwen by default): # - QwenLlm: Qwen # - AzureLlm: Azure OpenAI # - DoubaoLlm: Doubao # - MoonshotLlm: Moonshot # Example: Using Azure OpenAI from core.llm.azure_open_ai import AzureLlm # ... llm = providers.Singleton(AzureLlm) -
Start PostgreSQL database.
# Method 1: If PostgreSQL is installed locally # Simply start your local PostgreSQL service # Method 2: Using Docker (example) docker run -d --name local-postgres \ -e POSTGRES_DB=your_database_name \ -e POSTGRES_USER=your_username \ -e POSTGRES_PASSWORD=your_password \ -p 5432:5432 \ postgres # Note: Ensure database connection info matches the configuration in your .env file -
Initialize the database.
# Create a new version and generate a migration file in alembic/versions alembic revision --autogenerate -m "initial migration" # Preview SQL to be executed: alembic upgrade head --sql # If preview looks good, execute migration alembic upgrade head -
Start the service.
python -m uvicorn main:app --host 0.0.0.0 --port 8000
Set up Frontend Service
-
Clone the efflux-frontend repo.
git clone https://github.com/isoftstone-data-intelligence-ai/efflux-frontend.git -
Install the dependencies.
cd efflux-frontend npm i -
Create a
.env.localfile and set the environment variables as follows:# Get your API key here - https://e2b.dev/ E2B_API_KEY="your-e2b-api-key" # Get your Azure API key here https://learn.microsoft.com/en-us/azure/ai-services/openai/how-to/create-resource?tabs=portal AZURE_API_KEY="your-azure-api-key" # API URL NEXT_PUBLIC_API_URL="your-backend-service-url" # OpenAI API Key OPENAI_API_KEY= # Other providers ANTHROPIC_API_KEY= GROQ_API_KEY= FIREWORKS_API_KEY= TOGETHER_API_KEY= GOOGLE_AI_API_KEY= GOOGLE_VERTEX_CREDENTIALS= MISTRAL_API_KEY= XAI_API_KEY= ### Optional env vars # Domain of the site NEXT_PUBLIC_SITE_URL= # Disabling API key and base URL input in the chat NEXT_PUBLIC_NO_API_KEY_INPUT= NEXT_PUBLIC_NO_BASE_URL_INPUT= # Rate limit RATE_LIMIT_MAX_REQUESTS= RATE_LIMIT_WINDOW= # Vercel/Upstash KV (short URLs, rate limiting) KV_REST_API_URL= KV_REST_API_TOKEN= # Supabase (auth) SUPABASE_URL= SUPABASE_ANON_KEY= # PostHog (analytics) NEXT_PUBLIC_POSTHOG_KEY= NEXT_PUBLIC_POSTHOG_HOST= -
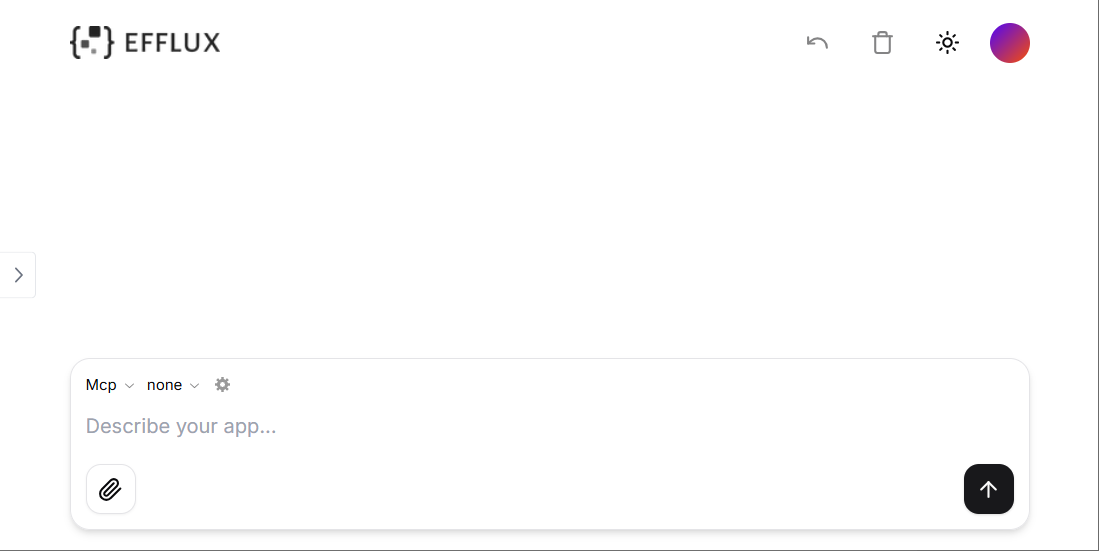
Start the development server.
npm run devThen you can access your local efflux at http://localhost:3000. The landing page looks like the following:
What's Next?
Was this page helpful?